Trinity Cabinet Refacing
Crown Molding Addition in Trinity, FL
Crown molding addition in Trinity closes the ceiling gap for a built-in cabinet look. Free estimates.
- 15+ Years local experience
- 500+ Projects completed
- Licensed & Insured
Serving Trinity and nearby communities.
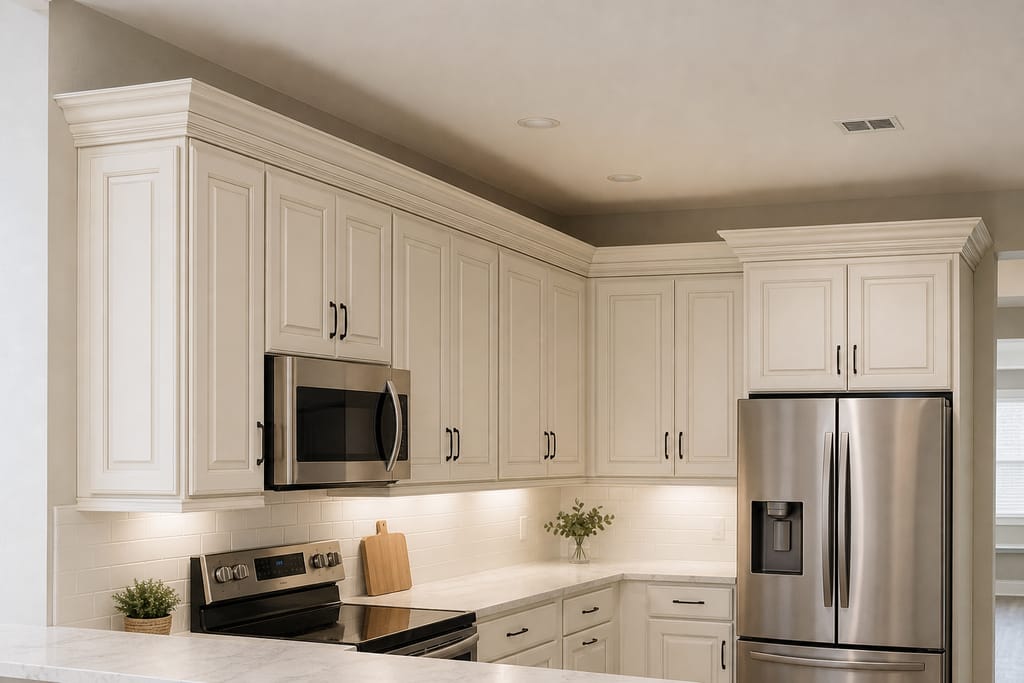
That gap between the top of your cabinets and the ceiling reads as unfinished, no matter how nice the doors below look. Crown molding closes it and gives the whole run a built-in appearance.
Trinity Cabinet Refacing cuts and fits molding to your exact cabinet-to-ceiling measurements, then finishes it to match the doors below or the new color scheme you're after.
What's included
What's included
- Molding profile selection — to match your style direction
- Cutting to fit — cabinet tops at precise angles
- Paint or stain match — to existing or new door finish
Want a clearer scope?
Get a Free EstimateCrown Molding Addition
How molding is added
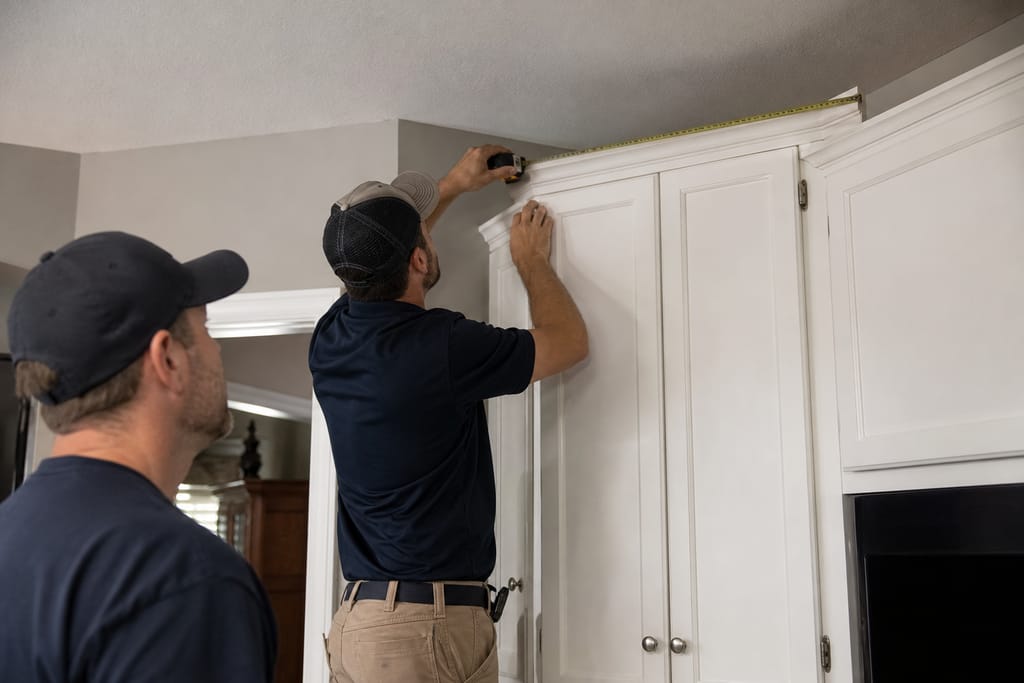
- Space Measurement — Cabinet tops are measured to determine molding length and angles needed.
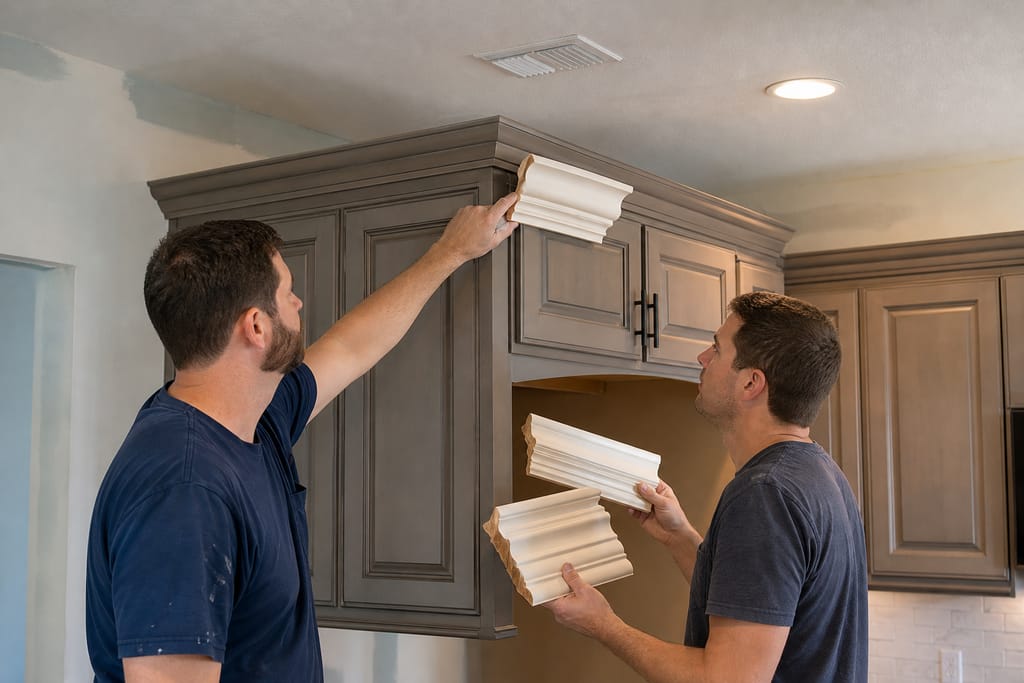
- Molding Style Selection — Clients choose molding profiles that complement their cabinet design.
- Cutting and Fitting — Molding pieces are cut to precise angles for proper corner fitting.
- Surface Preparation — Cabinet tops are prepared to ensure secure molding attachment.
- Molding Installation — Molding is attached and secured along the tops of cabinet runs.
- Finish Touch-Ups — Seams and edges are finished to blend molding with existing cabinetry.
Questions about this?
Get a Free EstimateCrown Molding Addition
Molding style and finish options
- Crown Molding Profiles — A range of molding profiles add decorative detail above cabinetry.
- Wood Molding Strips — Solid wood strips provide a traditional, durable molding option.
- Molding Adhesive — Strong adhesive secures molding firmly to cabinet surfaces.
- Finish Nails — Finish nails provide additional support for molding installation.
- Matching Stain or Paint — Finish is matched to existing cabinetry for a cohesive appearance.
- Corner Molding Blocks — Corner blocks simplify fitting at complex cabinet angles.
Questions about this?
Get a Free EstimateTimeline
Timeline for molding addition
A molding add-on is a quick project, often paired with a refacing job rather than scheduled on its own.
- 01
Measure and select profile
same day - 02
Cut and finish prep
1 day - 03
Install
1 dayfor a standard kitchen
Need a schedule that fits?
Get a Free EstimateCodes & permits
Permits for crown molding
Cosmetic trim work like this is permit-free , but confirm with your local building department if it's part of a larger renovation.
- Trim and molding addition to existing cabinet tops
Need help with permits?
Get a Free EstimateCrown Molding Addition
Crown molding questions
Does cabinet refacing add resale value in a newer neighborhood like Trinity? Small finishing touches like crown molding make cabinetry read as custom rather than builder-grade, which matters to buyers walking through a kitchen for the first time.
How much does crown molding addition cost on its own? It's one of the lower-cost upgrades we offer, priced by linear footage rather than by the whole kitchen's scope.
Can crown molding be added to cabinets that aren't being refaced? Molding can be added to existing cabinets as a standalone upgrade if the doors and boxes are already in good shape.
Does molding need to match the cabinet finish exactly? It's typically matched closely for a smooth look, though some homeowners choose a slight contrast tone intentionally.
Questions about this?
Get a Free EstimateNext step
Get a free crown molding estimate
Call (727) 339-5553 or reach out through our contact form with your cabinet-to-ceiling measurements.
How it works
Our process
 Step 1
Space Measurement
Cabinet tops are measured to determine molding length and angles needed.
 Step 2
Molding Style Selection
Clients choose molding profiles that complement their cabinet design.
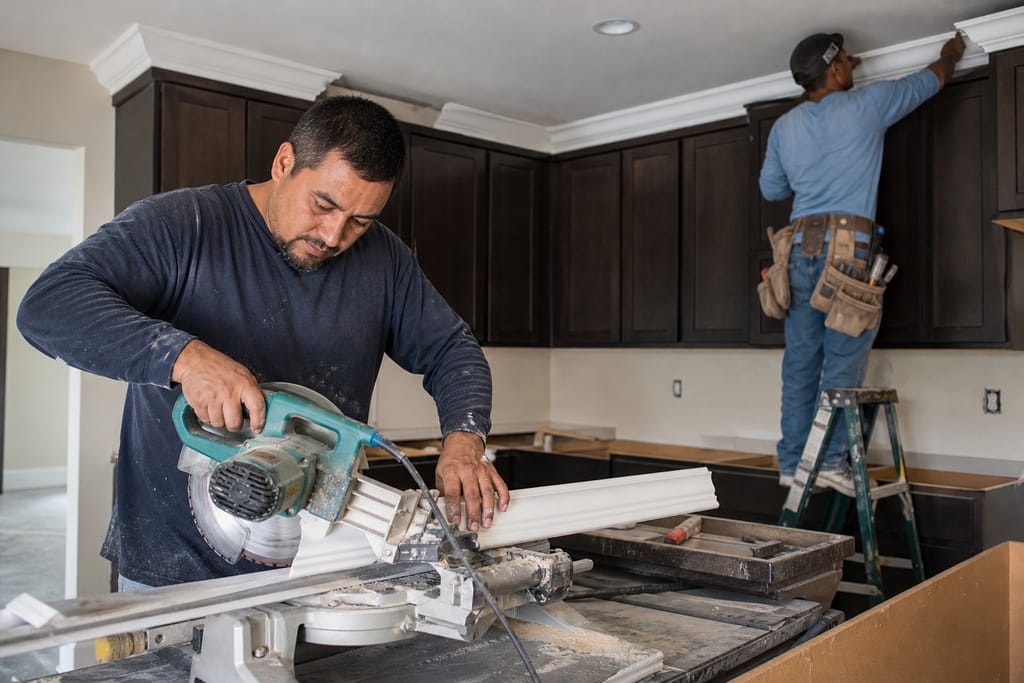 Step 3
Cutting and Fitting
Molding pieces are cut to precise angles for proper corner fitting.
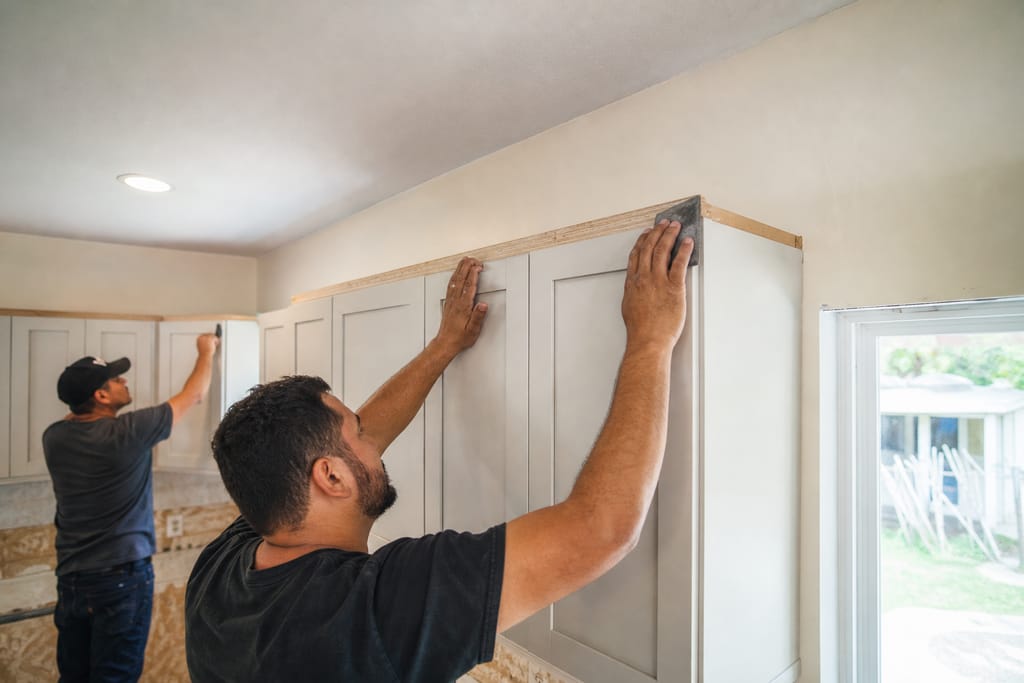 Step 4
Surface Preparation
Cabinet tops are prepared to ensure secure molding attachment.
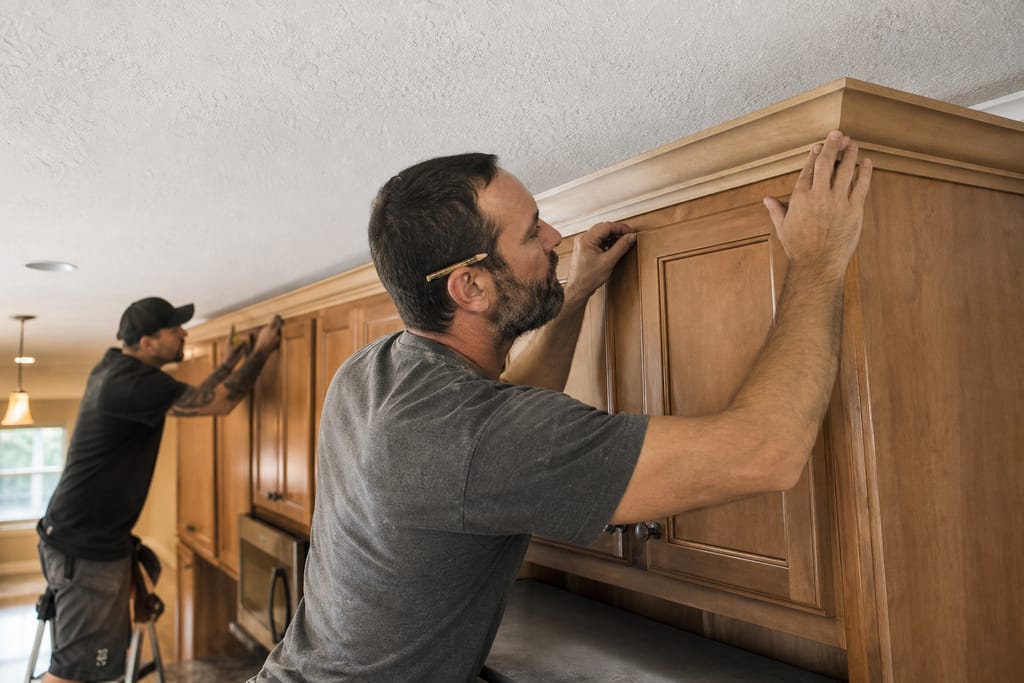 Step 5
Molding Installation
Molding is attached and secured along the tops of cabinet runs.
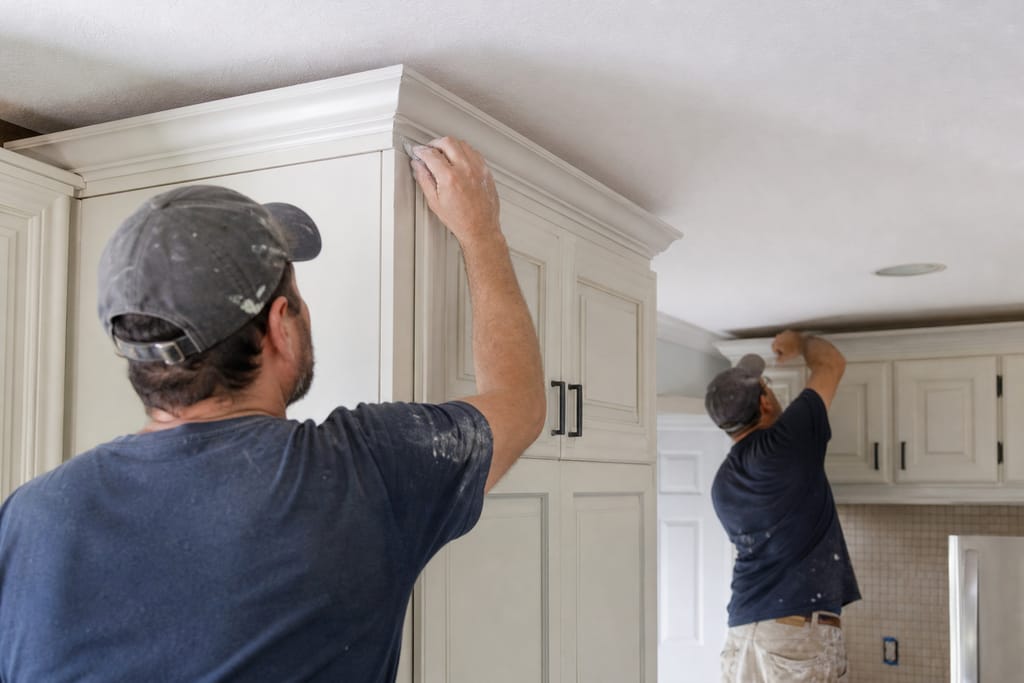 Step 6
Finish Touch-Ups
Seams and edges are finished to blend molding with existing cabinetry.
Materials
Materials and methods we use
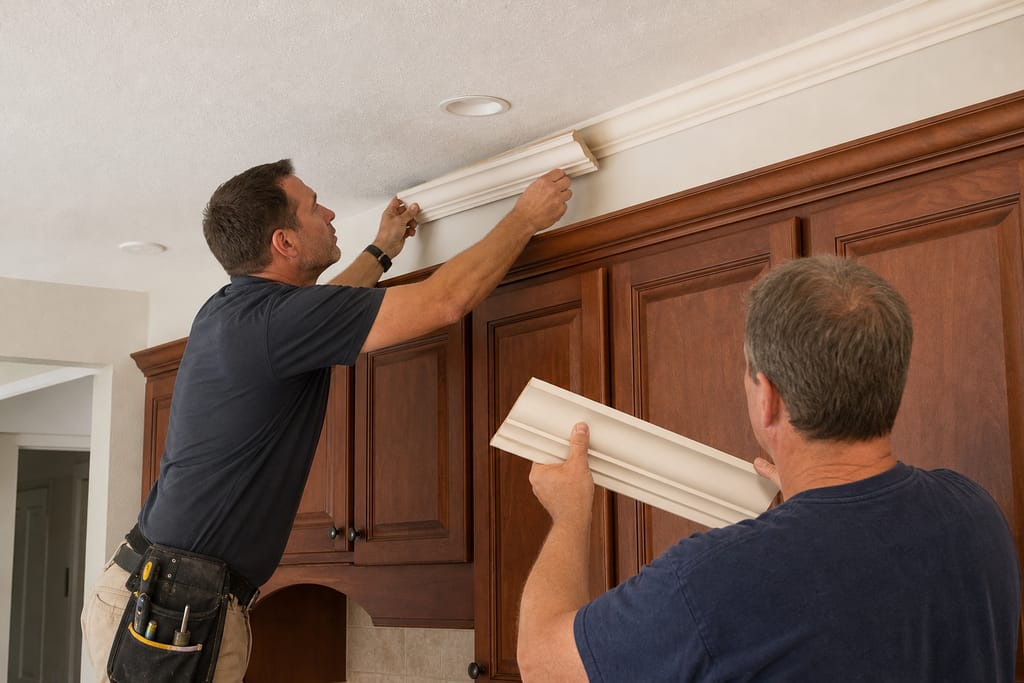
Crown Molding Profiles
A range of molding profiles add decorative detail above cabinetry.
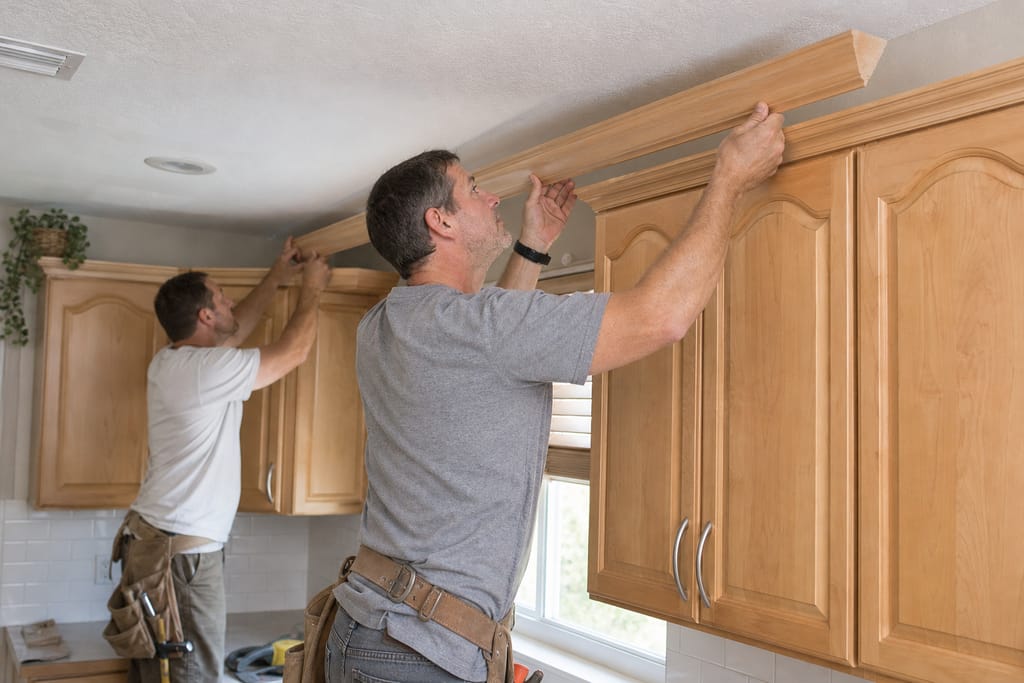
Wood Molding Strips
Solid wood strips provide a traditional, durable molding option.
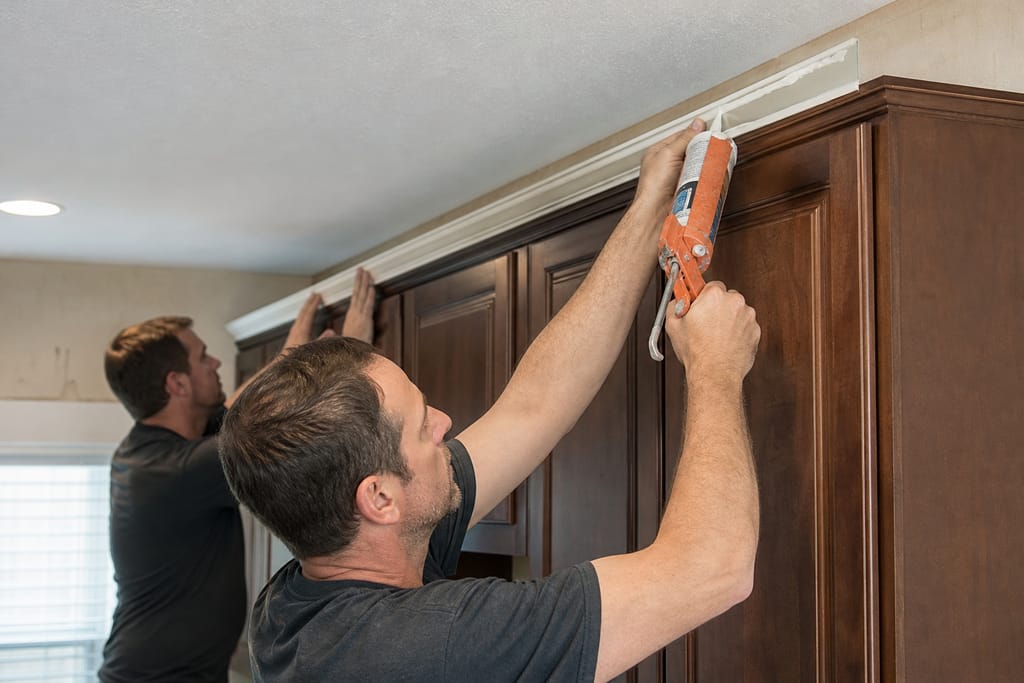
Molding Adhesive
Strong adhesive secures molding firmly to cabinet surfaces.
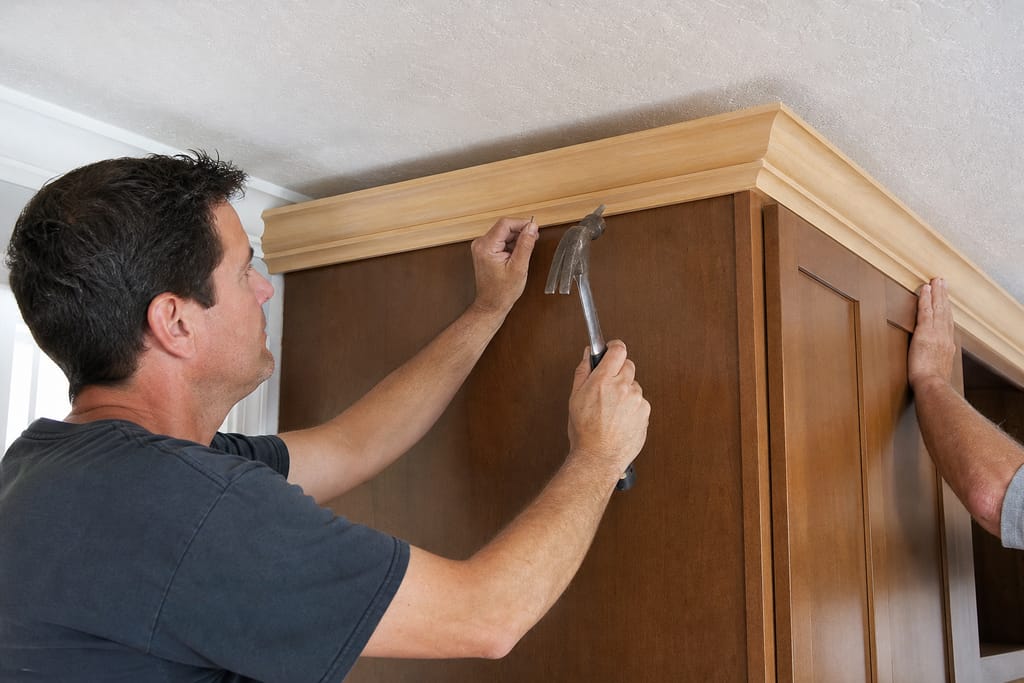
Finish Nails
Finish nails provide additional support for molding installation.
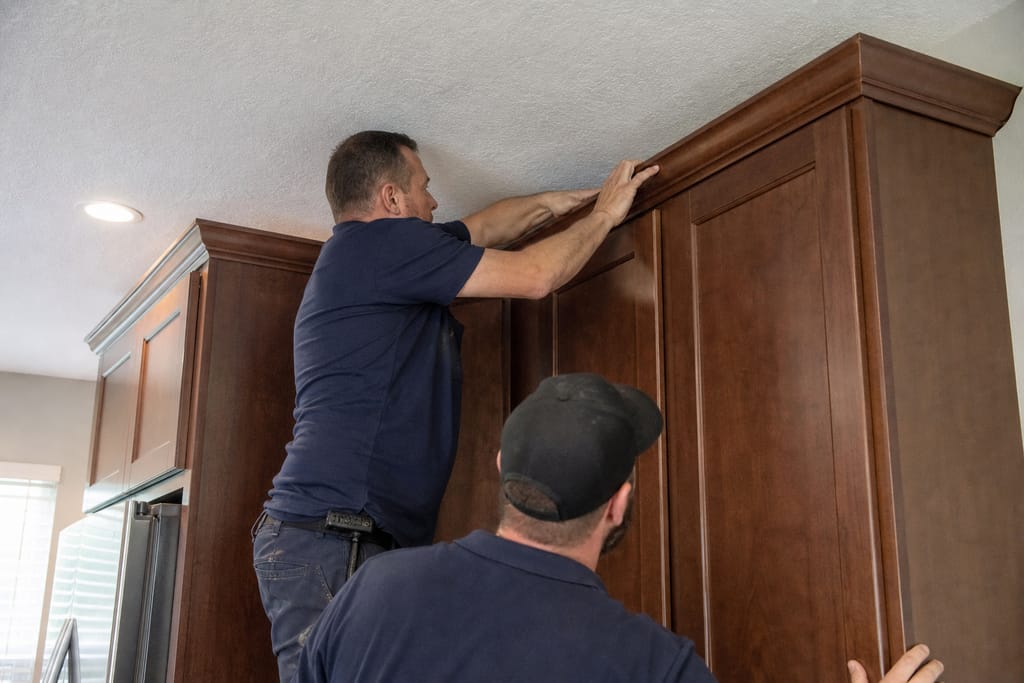
Matching Stain or Paint
Finish is matched to existing cabinetry for a cohesive appearance.
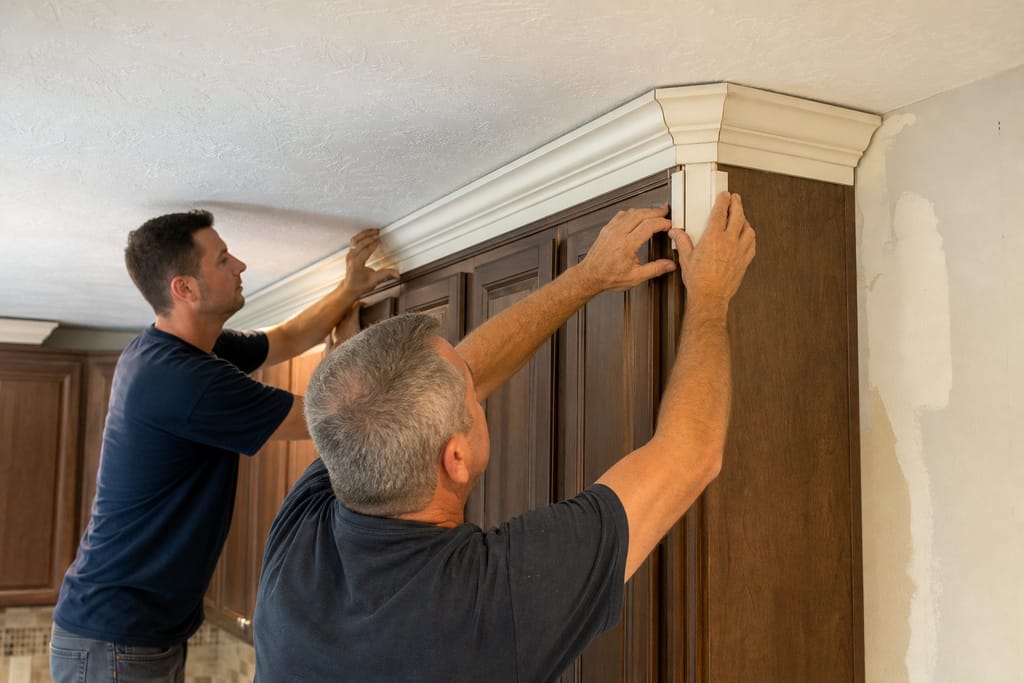
Corner Molding Blocks
Corner blocks simplify fitting at complex cabinet angles.
Questions on materials?
Get a Free EstimateMore services
Other Cabinet Refacing services
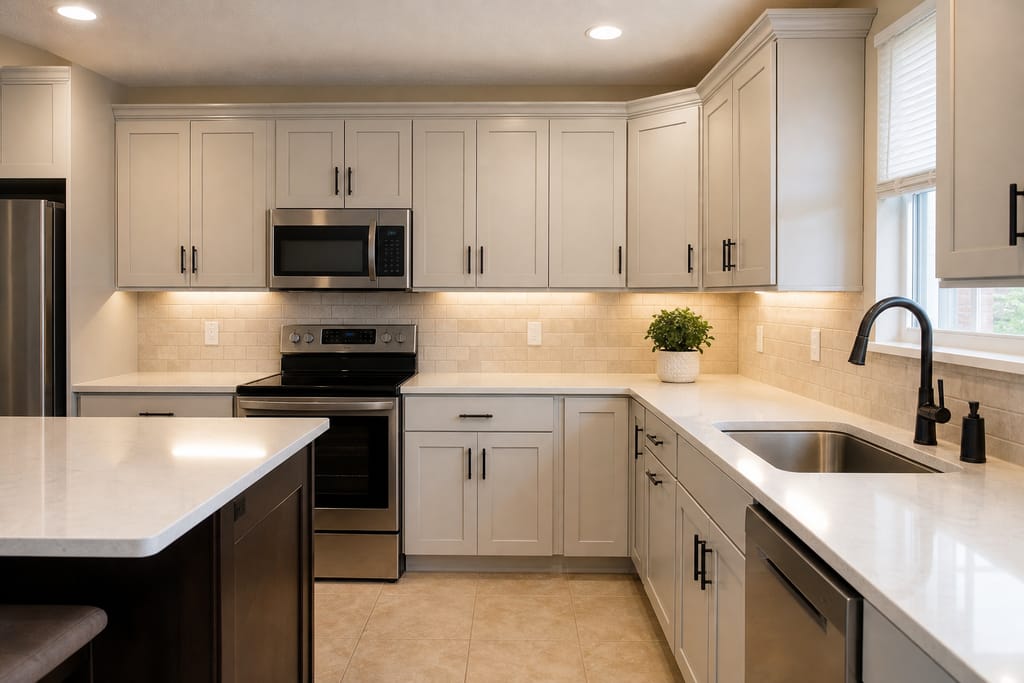
Cabinet Refacing
Cabinet refacing in Trinity, FL replaces doors, veneer, and hardware over your existing boxes, with free estimates and a written scope.
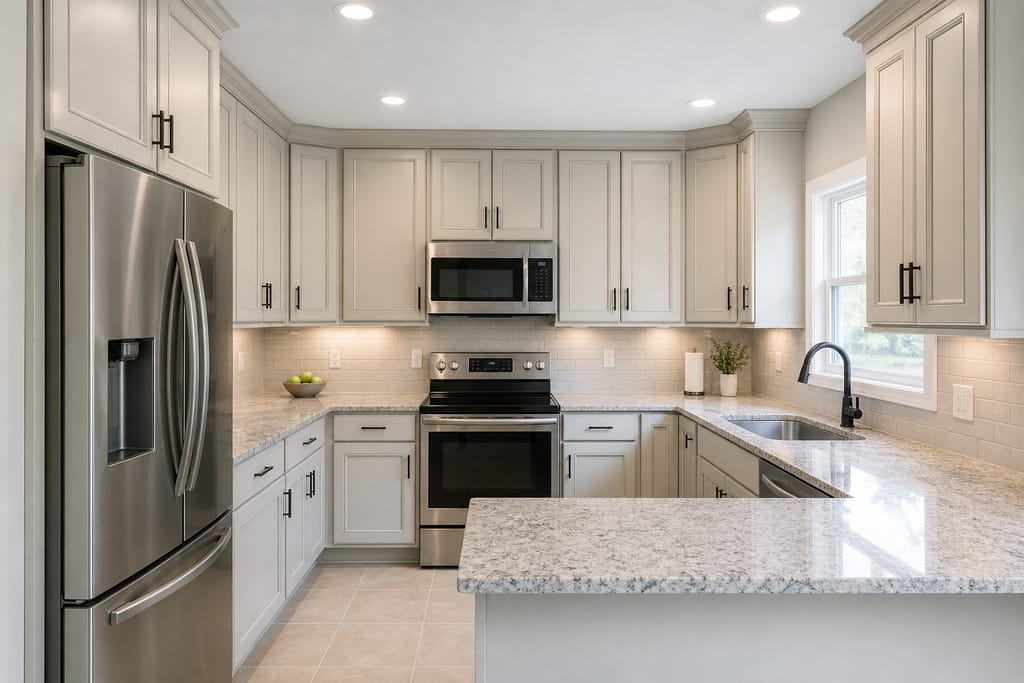
Kitchen Cabinet Refacing
Full kitchen cabinet refacing in Trinity: all runs, island, and hardware updated. Free estimates, honest cost ranges.
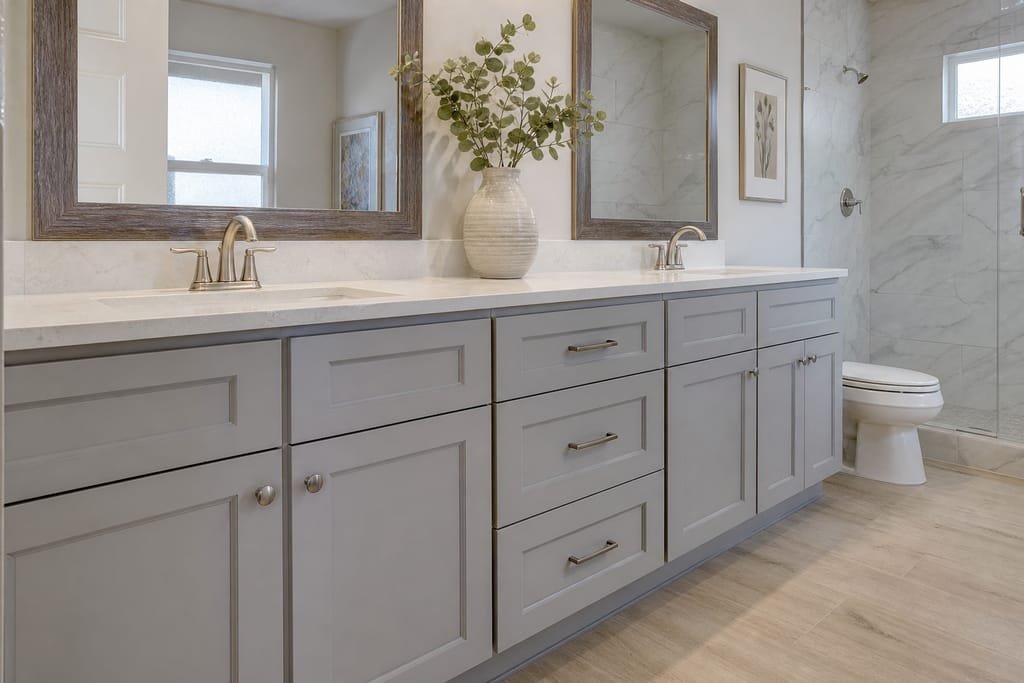
Bathroom Vanity Refacing
Bathroom vanity refacing in Trinity with moisture-resistant materials. New doors, veneer, hardware. Free estimates.
Ask about Crown Molding Addition
Tell us about the project and how to reach you.